
Last week I shared some adorable mobiles that I considered buying for my nursery. However, after much deliberation, I decided to make my own instead. I looked at a lot of other mobile DIYs before I found this picture which ended up serving as the inspiration for my moon and stars mobile. All of the materials cost me under $15, which is a lot less than what you will spend if you buy a mobile, trust me. Best of all, it is EASY to make. Really easy. I promise.
.JPG)
First, you will need to assemble all your materials.

Here's what you'll need:
6 pieces white felt for the stars (You could probably get away with 4, but get 6 to be on the safe side. They are only like 50 cents/sheet.)
2 pieces yellow felt for the moon
White embroidery thread
Black embroidery thread
White yarn
White spray paint
4 sticks (one large, one medium, two small)*
Quilt batting or cotton balls for stuffing
An embroidery needle
Sewing scissors
Several pins
Hook for hanging (I used these)
Directions:
Start by downloading and printing this moon and stars pattern.
Cut out the moon and star shapes.
Place your shapes over two layers of the same color felt and cut out one moon, 5 small stars, 4 medium stars, and 3 large stars. Pin your sets of felt shapes together for sewing.

Using your black embroidery thread, stitch around the outside of each of the stars until only one side is unstitched.
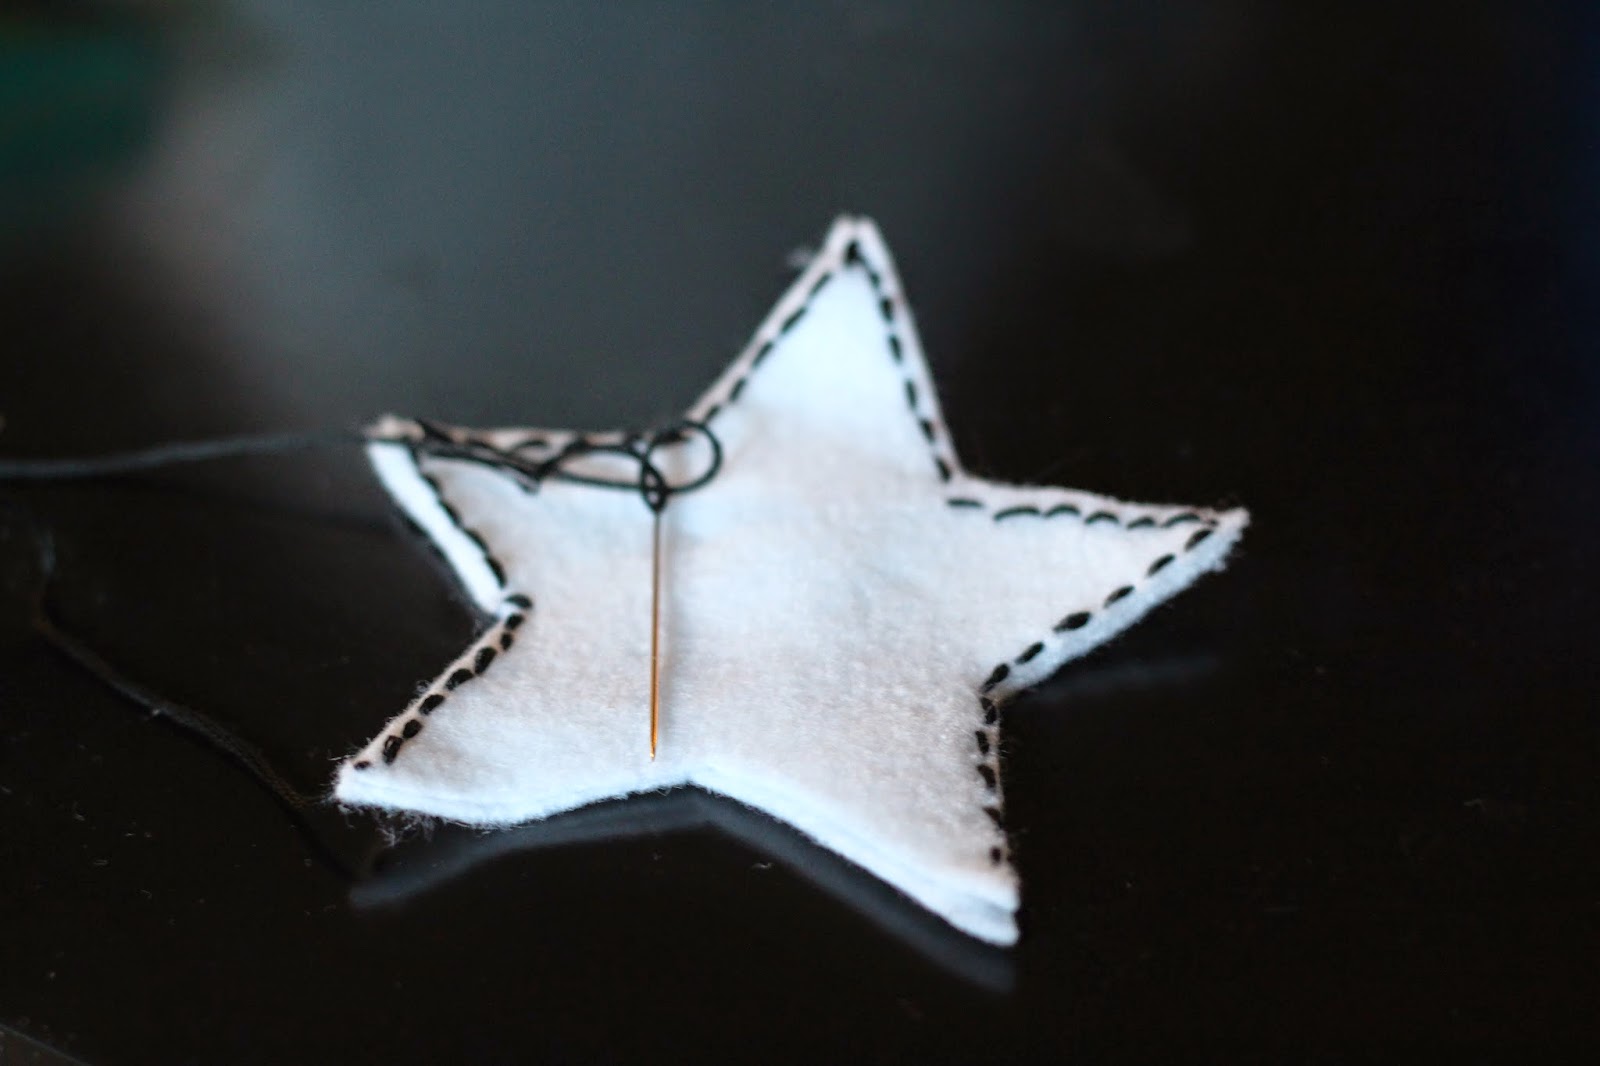
Fill your star with your quilt batting or cotton balls. Fill as completely as possible.

Then finish stitching the final side of the star.
Follow the same steps with the remaining stars. Then follow the same steps for the moon, but use the white embroidery thread instead of the black.
Once all of your pieces are stitched, you'll need to string them together using your white embroidery thread. Make a knot at the end of a piece of thread and run it through the top point of your bottom star, then through the bottom of the star that will hang above it, taking a few stitches to anchor the thread. Do this for each star in your chain.
If you want to recreate my mobile exactly you will need the following star strings:
For the side with the medium and the small stick:
- one large star by itself
- one medium star with one small star
- one large, medium, and small
- one large star, one small, and one medium star
- one medium star with two smalls
Spray paint your sticks white (if desired). When they have dried, attach your medium and small sticks to the longer stick using the white yarn. Also attach a length of yarn to the middle of the large stick for hanging the mobile. I waited until I was satisfied with the overall size and length of the mobile to trim the excess yarn and string from the ends of my knots so I would have room to make adjustments. Attach your star strings to the sticks as described above. Hang your moon from the middle of the longest stick. You will probably need to make a few adjustments to the positioning of the strings to get the mobile to balance after you hang it. Just know that moving anything around just a little bit can make a huge difference.

Once your mobile is balanced, trim off all of your excess string/yarn and you are done! I hope you are inspired to try making your own felt moon and stars nursery mobile. It is a pretty simple project that makes a big impact in the nursery. Speaking of which, my nursery is almost done. Final pics coming soon!
*The medium stick together with one of the small sticks should be about the same length as the long stick.

No comments:
Post a Comment